Create a Work Location
Work Location provides information regarding where each employee works.
To CREATE a Work Location, follow the steps below:
Navigation 
By default, you will be in Search Mode.
- Click on the New icon
 (you will then be in Insert Mode).
 - Enter the new Work Location information. Fields with an asterisk
 are mandatory fields.
 - Enter the Code, click on the Active checkmark, and select the Language, as required.
- Code: Unique identification code of the work location.
- Active: Active Status - if checked, Work Location is available.
- Language: Language used.
- Enter Name.
- Name: Name of the Work Location.
To ADD Contacts to the Work Location, if required:
1. Click on the  tab and then click on the New icon
  to enter Contacts (refer to Contacts for more information).
2. Click on the Save and Return icon  to save the Contact information and return to Work Locations, or click on the Discard icon
  to discard the Contact entry and return to Work Locations.
3. Click the Remove icon  to remove the selected Contacts, if required.
4. Click the individual Select Checkbox (es) to select and de-select the Contact (s), as required, or click the Select All icon  or Unselect All
  icon, to select all Contacts or de-select all Contacts, if required.
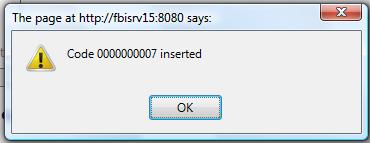
Click on the Save icon  at the bottom of the Work Location to save your new Work Location information. A window will appear to confirm.
Contacts
Navigation (From  click the New Icon
 under
under  )
)
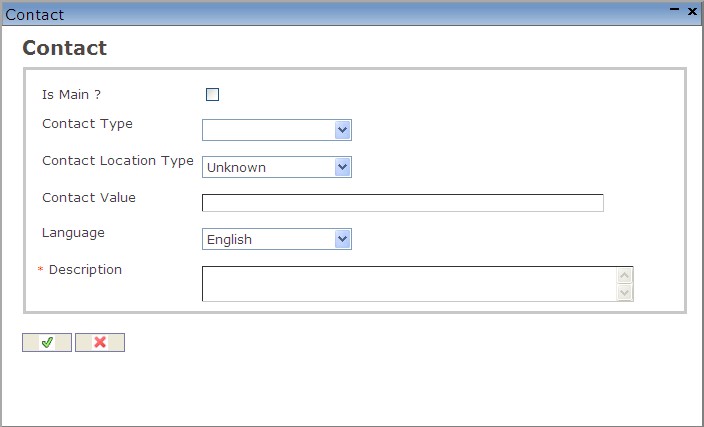
Create a Contact
Navigation (From  click the New Iconunder
  )
)
1. Enter the new Contact information. Fields with an asterisk are mandatory fields.
2. Click on the Is Main? checkmark, as required.
- Is Main?: Is Main? Status - if checked, this will be the main contact information.
3. Select Contact Type.
- Contact Type: Choose from the drop-down menu, either Electronic Mail, Fax, Mobile Phone, Pager, Phone, or Web Site.
4. Select Contact Location Type.
- Contact Location Type: Choose from the drop-down menu
5. Enter Contact Value.
- Contact Value: Enter a description of the contact value
6. Select a Language.
- Language: Language used
7. Enter Description.
- Description: Enter a short description of the contact
8. Click on the Save and Return icon to save the Contact information and return to the Work Location screen, or click on the Discard icon to discard the Contact entry and return to the Work Location screen.