Certificate
Overview
This screen contains a Certificate catalogue, which could be used among other screens on the system. A certificate can be mandatory or desirable for a given Generic/Employee Position. It is important to match different requirements of position available to the qualifications of the candidate. For a position, a certain certificate required could be the CA (Chartered Accountant) Certification.
Navigation

How to SEARCH:
- Enter the information to be used as retrieval criteria in the appropriate field (s). If you prefer to see a list of all Certificates, leave all fields blank.
- Click on the Find icon
 .
.
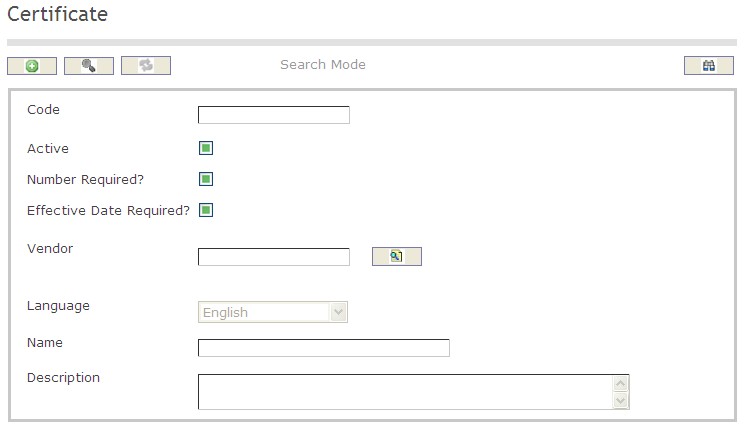
The Certificate screen includes the following fields:
| Report Fields | Description |
| Code | Unique identification code of the Certificate |
| Active | Active Status - if checked, Certificate is available |
| Number Required | Number Required Status - if checked, Number Required is available |
| Effective Date Required | Effective Date Required Status - if checked, Effective Date Required is available |
| Language | Language used |
| Vendor | The Organization that provides the Certificate |
| Name | Name of the Certificate |
| Description | Short description of the Certificate |
Create a Certificate
Certificate contains a Certificate catalogue, which could be used among other screens on the system. To CREATE a Certificate, follow the steps below:
Navigation 
By default, you will be in Search Mode.
- Click on the New icon
 (you will then be in Insert Mode).
 - Enter the new Certificate information. Fields with an asterisk
 are mandatory fields.
 - Enter the Code, click on the Active, Number Required, and Effective Date Required checkmarks, and select the Language, as required.
- Code: Unique identification code of the Certificate.
- Active: Active Status - if checked, Certificate is available.
- Number Required: Number Required Status - if checked, Number Required is available
- Effective Date Required: Effective Date Required Status - if checked, Effective Date Required is available
- Language: Language used
4. To enter the Vendor information, if required, click on the Lookup icon  , click on Find icon
  to retrieve the Vendor list, then select the Vendor.
- Vendor: The Organization that provides the Certificate.
5. Enter Name.
- Name: Name of the Certificate.
6. Enter Description.
- Description: Short description of the Certificate.
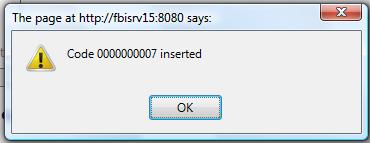
7. Click on the Save icon  at the bottom of the Certificate to save your new Certificate information. A window will appear to confirm.

Delete a Certificate
Certificate contains a Certificate catalogue, which could be used among other screens on the system. To DELETE a Certificate, follow the steps below:
Navigation 
By default, you will be in Search Mode.
- Find the Certificate you want to Delete
- Enter the information to be used as retrieval criteria in the appropriate field(s). If you prefer to see all Certificates, leave all fields blank.
- Click Find

- Select the Certificate you want to Delete
- Click on the Delete icon

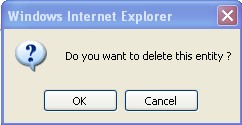
- A window will appear asking you to confirm

4. Click OK to confirm and delete the Certificate.
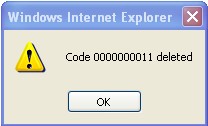
5. A window will be displayed confirming the Certificate has been deleted

To Verify that the Certificate has been Deleted:
- Click on the Search icon

- Enter the Certificate information
- Click on the Find icon

- The window will appear

Modify a Certificate
Certificate contains a Certificate catalogue, which could be used among other screens on the system. To MODIFY a Certificate, follow the steps below:
Navigation 
By default, you will be in Search Mode.
- Enter the information to be used as retrieval criteria in the appropriate field(s).
If you prefer to see the list of all Certificates, leave all fields blank. - Click on the Find icon
 . The list of Certificates meeting the retrieval criteria will appear.
 - Click on the Certificate you want to modify.
You will then be in Update/Delete Mode. - Make the necessary modification(s).
- Click on the Update icon
 at the bottom of the screen to save your modifications. A window will appear to confirm the modification. Click OK to confirm.