Retirement Benefit Plan
Overview
This screen represents a collection of retirement benefits included as part of the Retirement Benefits Plan for one or more employees. This screen requires the user to define a catalog of different retirement plans available. This will require a tab at the bottom to associate the different possible Retirement Benefits available for this plan. Different plans may have the same benefits.
Navigation 

How to SEARCH:
- Enter the information to be used as retrieval criteria in the appropriate field (s). If you prefer to see a list of all Retirement Benefit Plans, leave all fields blank.
- Click on the Find icon
 .
.
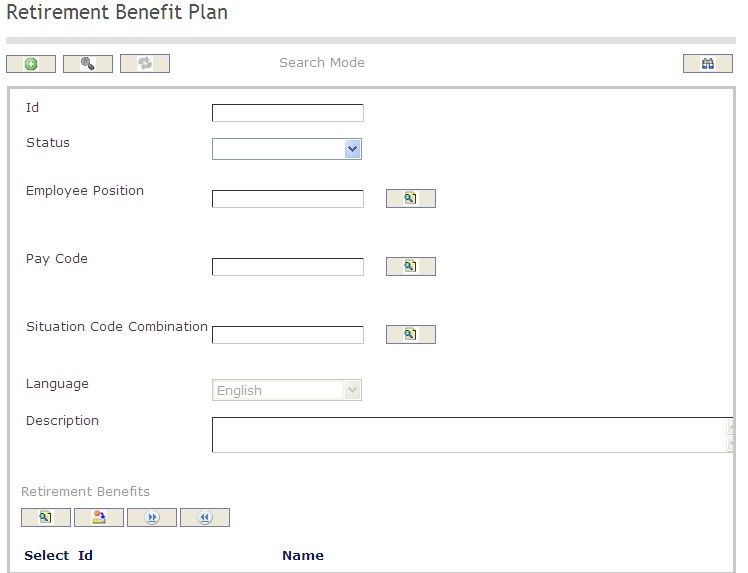
The Retirement Benefit Plan screen includes the following fields:
| Report Fields | Description |
| ID | Unique identification code of the Retirement Benefit Plan |
| Status | This attribute can take one of the following values: Approved, Cancelled, Created, Rejected, and Requested for Approval |
| Employee Position | Employee Position to be included in the assignment that will be created |
| Pay Code | Pay code to be included in the assignment that will be created |
| Situation Code Combination | The situation code to be included in the assignment that will be created |
| Language | Language used |
| Description | Enter a detailed description of the Retirement Benefit Plan |
Create a Retirement Benefit Plan
Retirement Benefit Plan represents a collection of retirement benefits for one or more employees. To CREATE a Retirement Benefit Plan, follow the steps below:
Navigation 
By default, you will be in Search Mode.
- Click on the New icon
 (you will then be in Insert Mode).
 - Enter the new Retirement Benefit Plan information. Fields with an asterisk
 are mandatory fields.
 - Enter the ID, as required.
- ID: Unique identification code of the Retirement Benefit Plan.
4. Enter the Status.
- Status: This attribute can take one of the following values: Approved, Cancelled, Created, Rejected, and Requested for Approval.
5. To enter the Employee Position data, if required, click on the Lookup icon  , click on the Find icon
  to retrieve the Employee Position list, then select the Employee Position.
- Employee Position: This is the employee position to be included in the assignment that will be created.
6. To enter the Pay Code information, if required, click on the Lookup icon  , click on the Find icon
  to retrieve the Pay Code list, then select the Pay Code.
Pay Code: The pay code to be included in the assignment to be created .
7. To enter the Situation Code Combination, if required, click on the Lookup icon  , click on Find icon
  to retrieve the Situation Code Combination list, then select the Situation Code Combination.
- Situation Code Combination: The situation code to be included in the assignment that will be created.
8. Enter the Language.
- Language: Language used.
9. Enter the Description.
- Description: Enter a detailed description of the Retirement Benefit Plan.
To ADD Retirement Benefits to the Retirement Benefit Plan list:
- Click on the Lookup icon
 , and enter the Retirement Benefits information, or leave the Retirement Benefits information blank to retrieve all Retirement Benefits.
 - Click the Remove icon
 to remove the selected Retirement Benefits, if required.
 - Click the individual Select Checkbox (es) to select and de-select the Retirement Benefit (s), as required, or click the Select All icon
 or Unselect All
  icon, to select all Retirement Benefits or de-select all Retirement Benefits, if required.
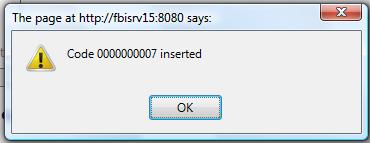
Click on the Save icon  at the bottom of the Retirement Benefit Plan page to save your new Retirement Benefit Plan information. A window will appear to confirm.

Delete a Retirement Benefit Plan
Retirement Benefit Plan represents a collection of retirement benefits included as part of the Retirement Benefits Plan for one or more employees. To DELETE a Retirement Benefit Plan, follow the steps below:
Navigation 
By default, you will be in Search Mode.
- Find the Retirement Benefit Plan you want to Delete
- Enter the information to be used as retrieval criteria in the appropriate field(s). If you prefer to see all Retirement Benefit Plans, leave all fields blank.
- Click Find

- Select the Retirement Benefit Plan you want to Delete
- Click on the Delete icon

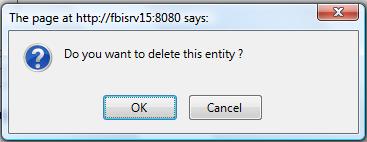
- A window will appear asking you to confirm

- Click OK to confirm and delete the Retirement Benefit Plan.
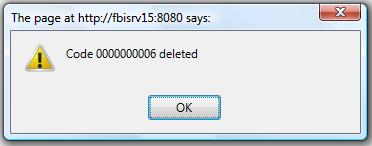
- A window will be displayed confirming the Retirement Benefit Plan has been deleted

To Verify that the Retirement Benefit Plan has been Deleted:
- Click on the Search icon

- Enter the Retirement Benefit Plan information
- Click on the Find icon

- The window will appear

Modify a Retirement Benefit Plan
Retirement Benefit Plan represents a collection of retirement benefits included as part of the Retirement Benefits Plan for one or more employees. To MODIFY a Retirement Benefit Plan, follow the steps below:
Navigation 
By default, you will be in Search Mode.
- Enter the information to be used as retrieval criteria in the appropriate field(s).
If you prefer to see the list of all Retirement Benefit Plans, leave all fields blank. - Click on the Find icon
 . The list of Retirement Benefit Plans meeting the retrieval criteria will appear.
 - Click on the Retirement Benefit Plan you want to modify.
You will then be in Update/Delete Mode. - Make the necessary modification(s).
- Click on the Update icon
 at the bottom of the screen to save your modifications. A window will appear to confirm the modification. Click OK to confirm.