Travel Request
Overview
The user can review, fill out and submit travel requests for Business Trips. The user can also see other employee's going on the same Business Trip.
Navigation

How to SEARCH:
- Enter the information to be used as retrieval criteria in the appropriate field (s). If you prefer to see a list of all Travel Requests, leave all fields blank
- Click on the Find icon

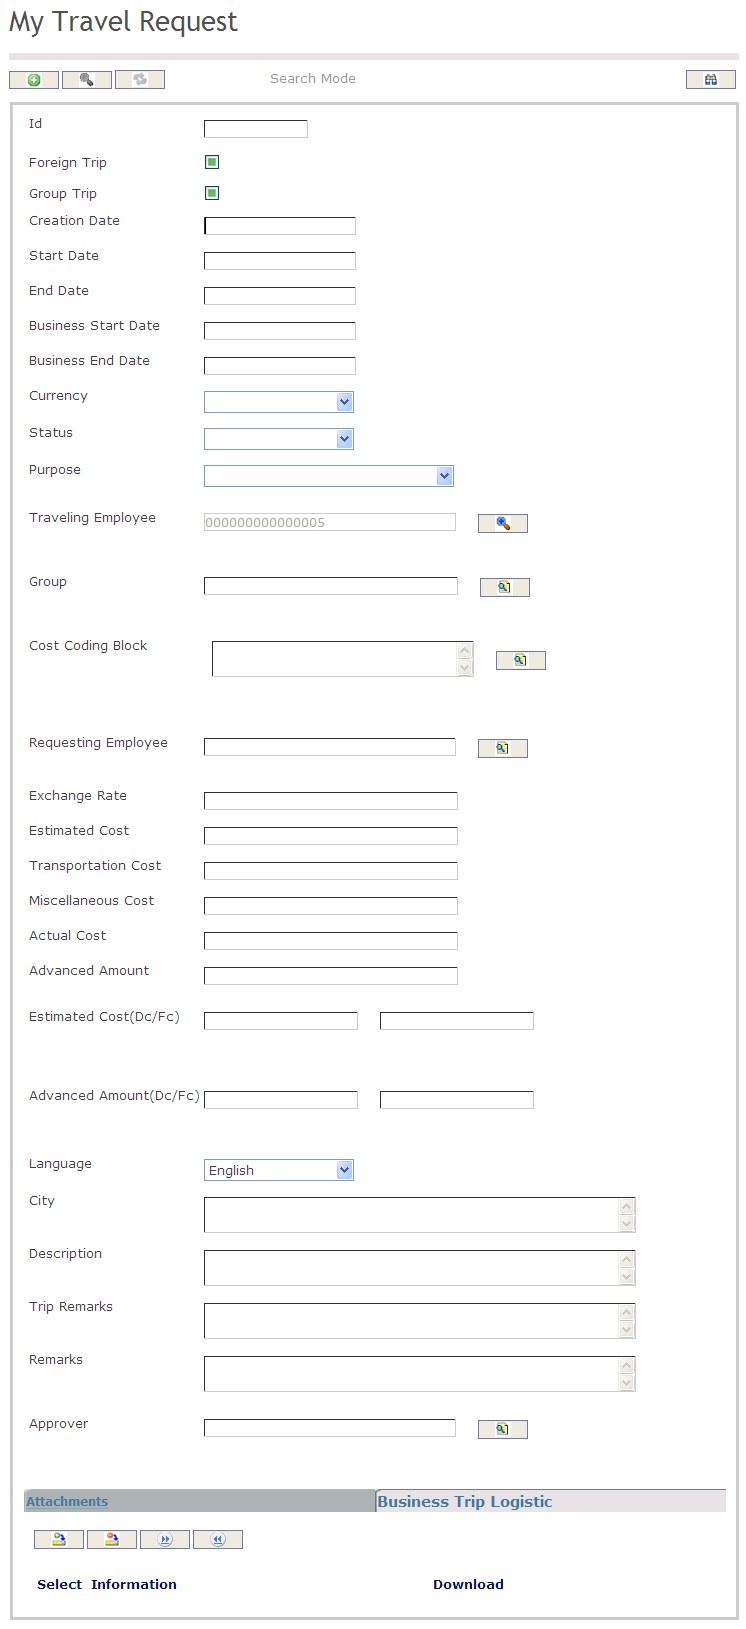
The Travel Request screen includes the following fields:
Field | Definition |
Foreign Trip | Identifies if the trip is outside the country |
Group Trip | Identifies if this trip will be attended by one or by multiple parties |
| Creation Date | Date Travel Request is created |
| Start Date | Start Date of trip (departure date) |
| End Date | End Date of trip (return date) |
| Business Start Date | Date Business Trip intended event starts |
| Business End Date | Date Business Trip intended event ends |
Currency | Contains the central repository for all currencies used throughout the system |
| Status | Status of Travel Request |
Purpose | Describes the purpose of the business trip |
Traveling Employee | The employee leaving on a business trip |
| Group | Select group if applicable |
Cost Coding Block | This entity has the information of every coding block with the structure (number of elements and order of concepts) of the Group |
Requesting Employee | The employee requesting the business trip |
| Exchange Rate | Exchange rate of destination |
Estimated Cost | The estimated cost (budget) for the trip |
| Transportation Cost | Indicates cost related to transportation |
Miscellaneous Cost | Indicates any miscellaneous amounts |
Actual Cost | The actual total cost of the trip |
Advanced Amount | Indicates the advanced funds amount the employee is requesting in order to undertake the trip |
| Actual Cost (Dc/Fc) | Actual cost |
| Language | Language Used |
| City | City of business trip |
| Description | Description of trip |
Trip Remarks | Provides for a brief remark on the trip outside of the trip description |
| Remarks | Other remarks |
| Approver | Trip approver |
| Attachments | Attachments related to trip |
| Business Trip Logistic | Business Trip logistic records |
Create Travel Request
To CREATE a Travel Request follow the steps below:
Navigation
By default, you will be in Search Mode.
1. Click on the New icon ![]() . You will then be in Insert Mode.
. You will then be in Insert Mode.
2. Enter the new Travel Request information. Fields with an asterisk  are mandatory fields.
3. The Creation date will be generated automatically.
4. Check the Foreign Trip box if the trip is outside the country and check box the Group Trip if more than one person is attending the trip.
- Foreign Trip: Identifies if the trip is outside the country
- Group Trip: Identifies if this trip will be attended by one or by multiple parties
5. Input the Start Date, End Date, , Business Start Date, Business End Date using the calendar ![]()
6. Choose the Currency as required from the drop down menu
7. Choose the Purpose for the business trip from the drop down menu
- Purpose: Identifies the purpose of the trip
8. To enter the Traveling Employee, click on the Lookup icon  , click on Find icon
  to retrieve the Employee list, then select the Employee. To view more details about the Traveling Employee click on the Details
  button.
9. To enter the Group, click on the Lookup icon  , click on Find icon
  to retrieve the Business Trip Group list, then select the Business Trip Group. To view more details about the Group click on the Details
  button.
10. To enter the Cost Coding Block click on New ![]() or click on the Lookup icon
or click on the Lookup icon  , click on Find icon
  to retrieve the Cost Coding Block list, then select the Cost Coding Element. To view more details about the Cost Coding Block click on the Details
  button.
11. To view more details about the Requesting Employee click on the Details  button.
12. Enter the Estimated Cost, Transportation Cost, Miscellaneous Cost, Actual Cost, Advanced Amount, Estimated Cost(Dc/Fc), and the Advanced Amount(Dc/Fc).
- Estimated Cost: The estimated cost (budget) for the trip
- Miscellaneous Cost: Indicates any miscellaneous amounts
- Actual Cost: The actual total cost of the trip
- Advanced Amount: Indicates the advanced funds amount the employee is requesting in order to undertake the trip
13. Choose the desired Language from the drop down menu.
14. Enter the City, Description, and any Trip Remarks in the fields provided.
- Trip Remarks: Provides for a brief remark on the trip outside of the trip description
15. Click on the New icon  under
under  to enter the Attachments (refer to Attachments for more information).
16. Click on the Save and Return icon  to save the Attachments information and return to the Business Trip screen, or click on the Discard icon
  to discard the Attachments entry and return to the Business Trip.
17. Click the individual Select Checkbox (es), under  to select and de-select the Attachment (s), as required, or click the Select All icon
  or Unselect All
  icon, to select or de-select all Attachments, if required.
18. Click the Remove icon  to remove the selected Attachment, if required.
19. Click on the New icon  under
under  to enter the Business Trip Logistic (refer to Business Logistic for more information).
20. Click on the Save and Return icon  to save the Business Trip Logistic information and return to the Business Trip screen, or click on the Discard icon
  to discard the Business Trip Logistic entry and return to the Business Trip.
21. Click the individual Select Checkbox (es), under  to select and de-select the Attachment (s), as required, or click the Select All icon
  or Unselect All
  icon, to select or de-select all Attachments, if required.
22. Click the Remove icon  to remove the selected Business Trip Logistic, if required.
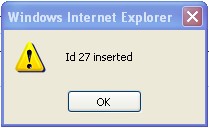
23. Click on the Save icon  at the bottom of the Business Trip page to save your new Business Trip information. A window will appear to confirm.
