Create a Certificate
Mié, 2010-06-02 10:55 — slind
Certificate contains a Certificate catalogue, which could be used among other screens on the system. To CREATE a Certificate, follow the steps below:
Navigation 
By default, you will be in Search Mode.
- Click on the New icon
 (you will then be in Insert Mode).
 - Enter the new Certificate information. Fields with an asterisk
 are mandatory fields.
 - Enter the Code, click on the Active, Number Required, and Effective Date Required checkmarks, and select the Language, as required.
- Code: Unique identification code of the Certificate.
- Active: Active Status - if checked, Certificate is available.
- Number Required: Number Required Status - if checked, Number Required is available
- Effective Date Required: Effective Date Required Status - if checked, Effective Date Required is available
- Language: Language used
4. To enter the Vendor information, if required, click on the Lookup icon  , click on Find icon
  to retrieve the Vendor list, then select the Vendor.
- Vendor: The Organization that provides the Certificate.
5. Enter Name.
- Name: Name of the Certificate.
6. Enter Description.
- Description: Short description of the Certificate.
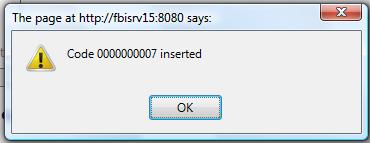
7. Click on the Save icon  at the bottom of the Certificate to save your new Certificate information. A window will appear to confirm.

