- Human Resources
- Support Entities
- Position Management
- Batch Update
- Disciplinary
- Employee Management
- Financial Disclosure
- Budget Planning For Salaries
- Export HR Data
- Reports
- PMIS Interface
- External Recruitment
- Help Function
- Employee Self Service
Create a Leave Request
Tue, 2010-11-09 18:12 — lbennett
To CREATE a Leave Request follow the steps below:
Navigation
By default, you will be in Search Mode.
1. Click on the New icon ![]() . You will then be in Insert Mode.
. You will then be in Insert Mode.
2. Enter the new Leave Request information. Fields with an asterisk  are mandatory fields.
3. The Id will be generated automatically.
4. The Employee will be generated automatically, based on the user.
5. To enter the Leave Type, if required, click on the Lookup icon  , click on the Find icon
  to retrieve the Leave Types list, then select the Leave Type.
6. Input the Start Date, the End Date using the calendar ![]()
7. The Status will be generated automatically as Created.
9. The Requested Employee will be generated automatically, based on the user.
11. The Requested Date will be automatically filled by the system, its usually filled with the same date the information for the Leave Request is saved.
12. Choose the Language from the drop down menu.
13. Enter the Request Summary, which is a short description on the leave request.
14. Click on the Save icon  at the bottom to save your new Leave Request information. A window will appear to confirm the new Time Sheet creation. Click OK to confirm.

15. After the Leave Request is Created it must be Submitted. The user may also cancel the request before it has been submitted. A transition drop box will appear at the top of the form:

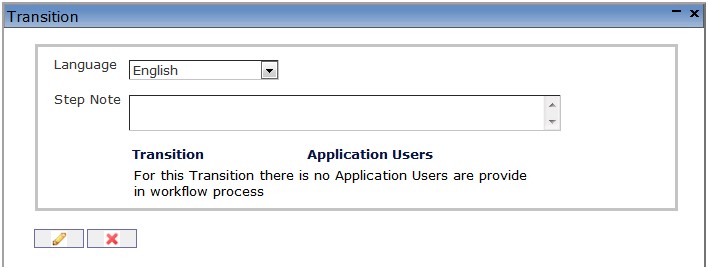
16. Select Request for Approval to submit the form. A confirmation box will appear:

17. Enter a note in the Step Note section and click on the Finish  icon
icon
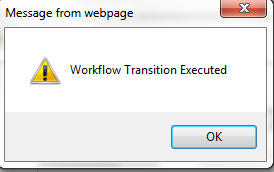
18. A message will appear:

